


Are you missing the joy of pita bread since going gluten-free? Look no further! In this article, we’ll guide you through an easy recipe for homemade gluten-free pita bread that’s soft, fluffy, and perfect for dipping or stuffing. Let’s dive right in!
-
Content
Gather Your Ingredients

To make gluten-free pita bread, you’ll need the following ingredients:
- 2 cups gluten-free all-purpose flour
- 1 tsp xanthan gum (omit if your flour blend already contains it)
- 1 tbsp sugar
- 1 tsp salt
- 1 tbsp active dry yeast
- 1 cup warm water
- 2 tbsp olive oil
- Cooking spray or additional oil for the pan
-
Prepare the Dough

Start by combining the gluten-free flour, xanthan gum, sugar, salt, and yeast in a large mixing bowl. In a separate container, mix the warm water and olive oil. Slowly add the wet ingredients to the dry, stirring until a dough forms.
Knead the dough for a few minutes, adding more flour if it’s too sticky. Once it’s smooth and elastic, place it in a lightly greased bowl, cover with a damp cloth, and let it rise in a warm spot for 1-2 hours, or until it doubles in size.
-
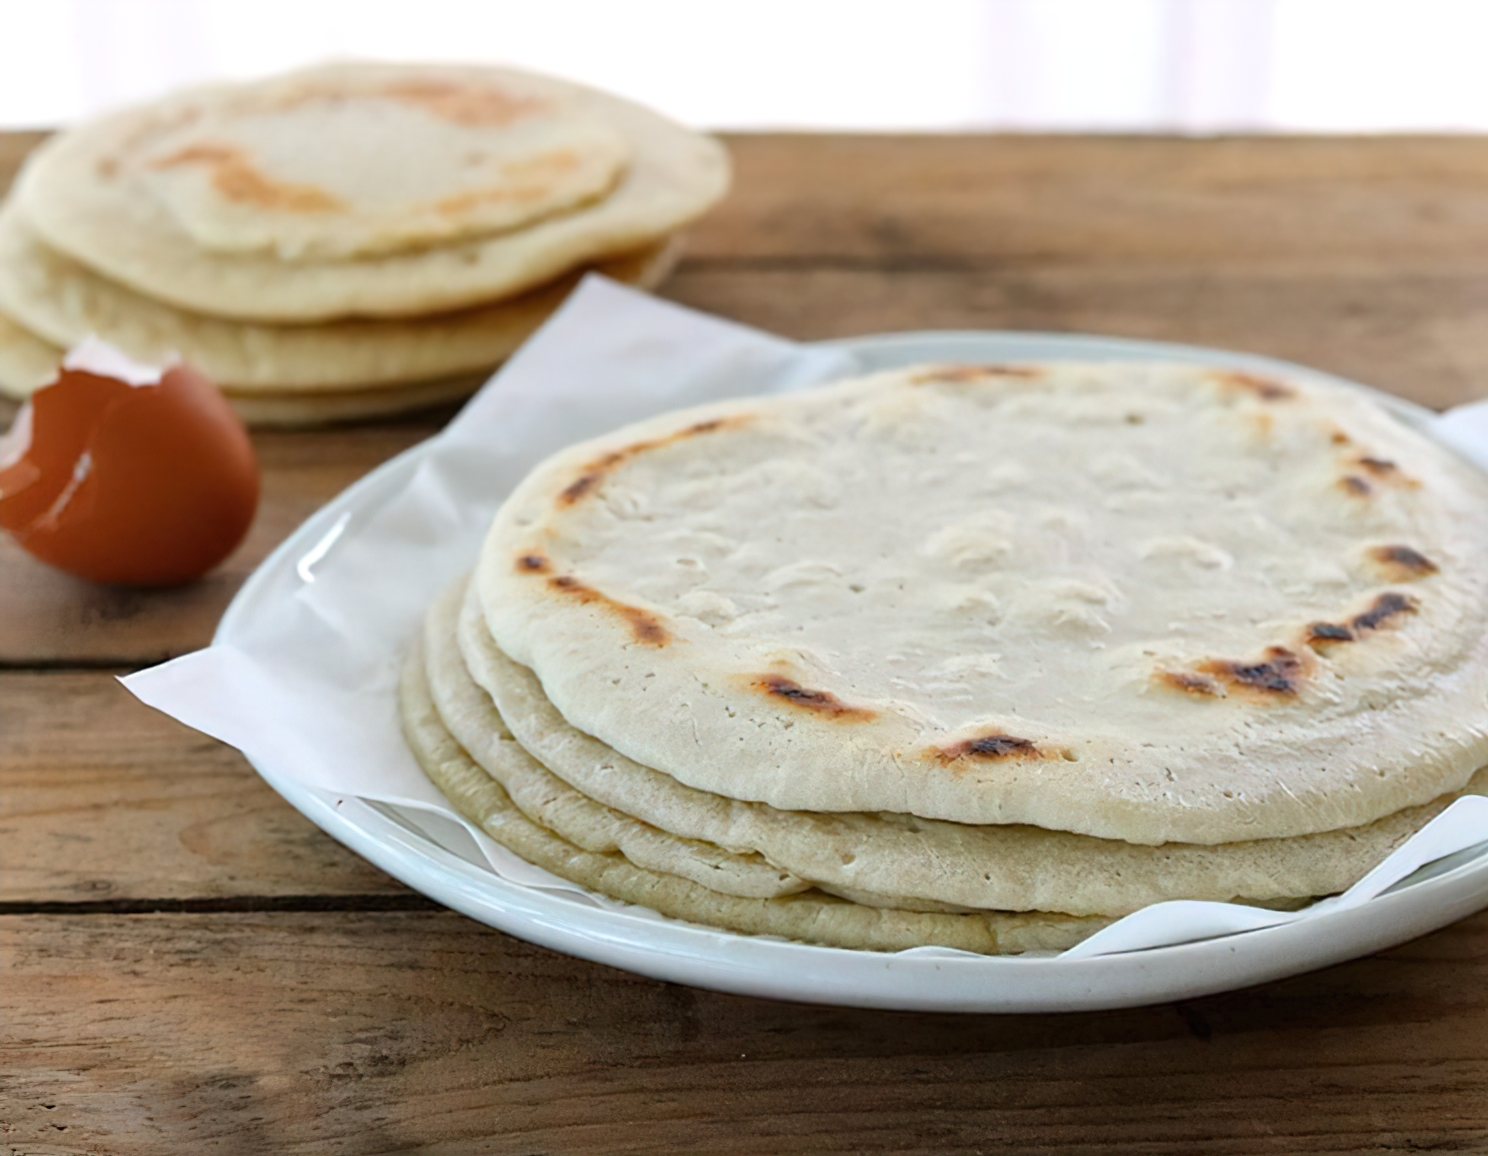
Shape the Pitas

Once the dough has risen, preheat your oven to 450°F (230°C) and place a baking sheet or pizza stone inside to warm up. Divide the dough into 6-8 equal portions, and roll each portion into a ball. Flatten each ball using a rolling pin to form a round pita shape, about 1/4-inch (0.6 cm) thick.
-
Bake the Pita Bread

Carefully place the rolled-out pitas onto the preheated baking sheet or pizza stone. Bake for 5-7 minutes, or until they’re lightly golden and puffed up. Keep a close eye on them to prevent overcooking.
-
Enjoy Your Gluten-Free Pita Bread

Remove the baked pitas from the oven and let them cool slightly on a wire rack. Enjoy your freshly baked gluten-free pita bread warm or store them in an airtight container for later use. They’re perfect for dipping in hummus, making sandwiches, or as a base for gluten-free pizza!
-
Tips for Perfect Gluten-Free Pita Bread

To ensure your gluten-free pita bread turns out just right, keep these tips in mind:
- Make sure your gluten-free flour blend is suitable for bread-making. Some blends are better for cakes and pastries, while others are ideal for bread. Read the packaging to check if it’s recommended for bread.
- Check the expiration date on your yeast. Expired yeast may not rise properly, leading to dense pita bread.
- If your pitas don’t puff up in the oven, it could be due to the thickness of the dough. Try rolling them thinner next time.
- To reheat your gluten-free pita bread, wrap them in foil and warm them in the oven at 350°F (175°C) for 5-7 minutes, or until heated through.
-
Flavor Variations

Add some excitement to your gluten-free pita bread with these flavor variations:
- Herbs and Spices: Mix in dried herbs like rosemary, thyme, or oregano into the dough for a flavorful twist. You can also add spices like garlic powder, onion powder, or paprika for an extra kick.
- Seeds: Incorporate seeds such as sesame, flax, or chia into the dough for added texture and nutrients.
- Cheese: Add some grated cheese like cheddar, mozzarella, or feta into the dough for a cheesy pita bread.
-
Serving Ideas

Your gluten-free pita bread can be used in a variety of ways:
- Cut the pita bread into triangles, brush with olive oil, and toast them in the oven to make gluten-free pita chips.
- Use your gluten-free pita bread as a base for mini pizzas. Top with your favorite gluten-free pizza sauce, cheese, and toppings, then bake until the cheese is melted and bubbly.
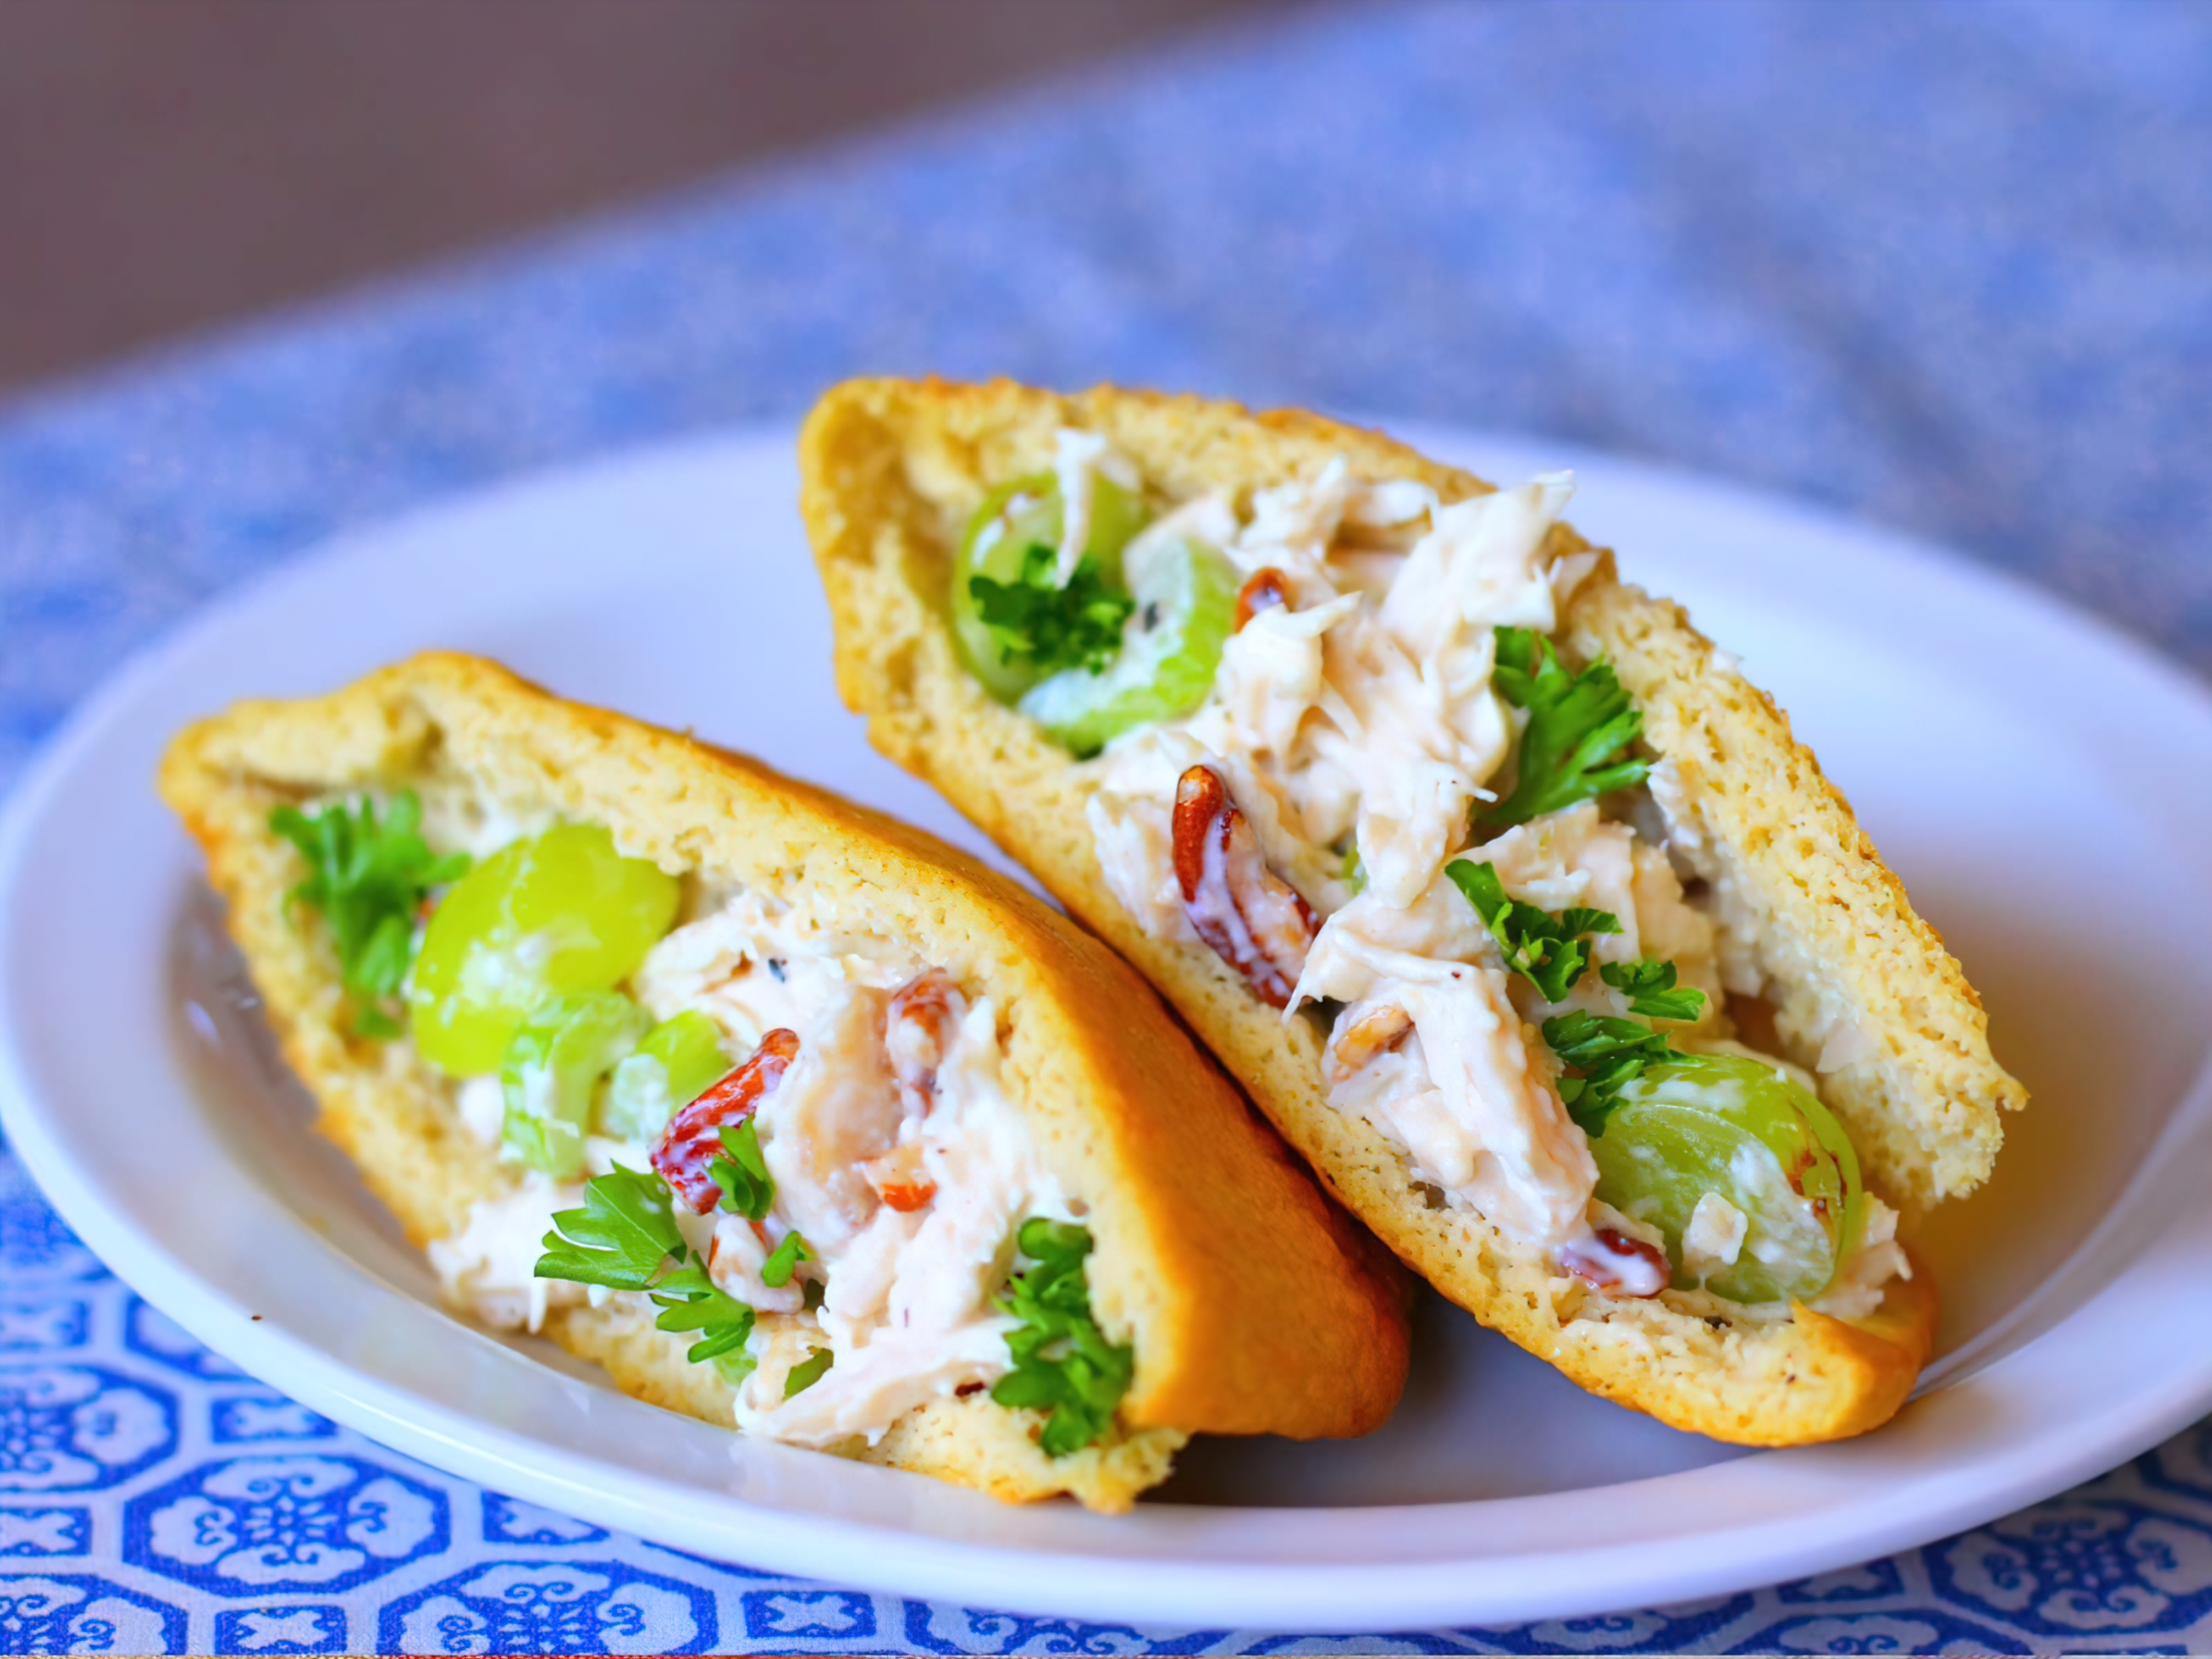
- Stuff your pita bread with your choice of fillings like grilled chicken, falafel, or fresh veggies for a delicious sandwich.
Conclusion
With these tips, variations, and serving ideas, your gluten-free pita bread experience will be both delicious and diverse. Remember to experiment with different flavors and combinations to find your perfect gluten-free pita bread recipe. Enjoy your culinary journey and have fun exploring the world of gluten-free baking!